What’s Halloween without some really great scary pumpkin faces!? A good jack o’ lantern does two things at once. It reads clearly from the sidewalk, and it still looks unsettling when you get close. This gallery has 45+ scary pumpkin face ideas, from sharp toothed grins to prop filled monsters, plus a few practical notes so your carving looks cleaner and lasts longer.


Pick a pumpkin that carves well
For crisp, scary expressions, start with a pumpkin that has a fairly smooth face and a sturdy wall. A medium to large carving pumpkin is usually easiest because it gives you room to shape eyes, cheeks, and teeth without everything collapsing. Look for a pumpkin with a flat, stable base so it will not wobble when you set it on a porch step. The stem should be firm and attached. Soft spots, deep bruises, and cracked skin shorten the life of the lantern and make detailed cuts harder.
Oddly shaped pumpkins can be an advantage for creepy designs. A long neck can become a hooked nose. Deep ridges can become wrinkles or scars. The key is to match the design to the pumpkin you have rather than forcing a symmetrical face onto a lopsided fruit.
Tools that make scary faces easier
A basic kitchen knife works, but a small pumpkin saw makes tighter turns and cleaner curves around eyes and teeth. A sturdy spoon or scraper is the fastest way to hollow the cavity. If you want very sharp edges, a craft knife can help on thin areas, but work slowly and keep your other hand out of the cutting path. When you plan on adding props, toothpicks and wooden skewers are useful for holding pieces in place.
Most “failed” carvings are not design problems. They are wall thickness problems. Scrape the inside behind the face area until it is about 1” thick. That makes it easier to cut fine details like fangs and lets the light glow more evenly through the openings.
Design tricks that read as scary
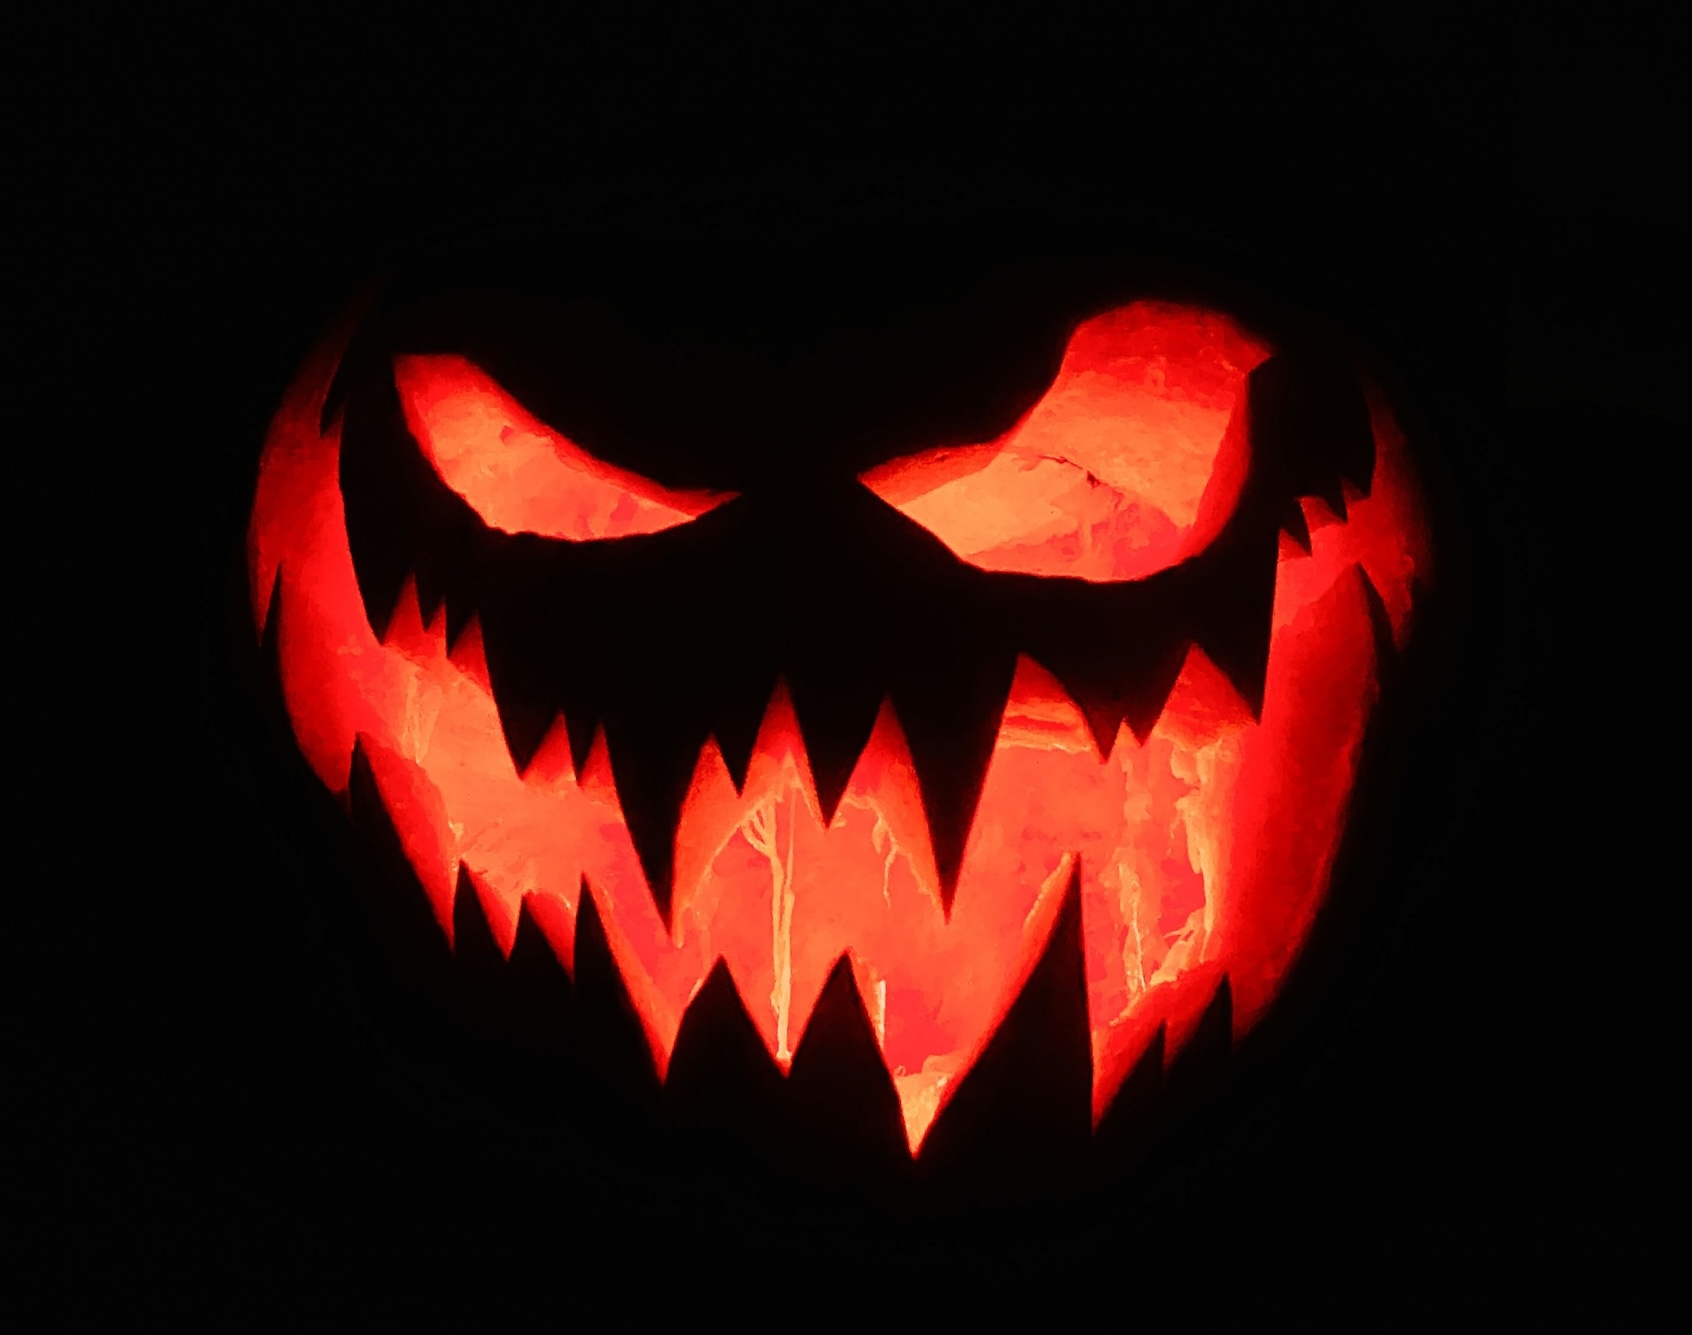
Scary faces usually rely on a few repeatable shapes. Narrow eyes angled down toward the center read as angry. Tall eyes with lots of open space read as shocked or possessed. A mouth that stretches wider than seems natural looks more menacing than a small grin. Teeth look sharper when they are uneven and when the mouth opening is deep and dark behind them.
For maximum impact at night, make the openings larger than you think you need. Tiny cuts can disappear at dusk. If you want detail without losing brightness, carve shallow “etching” lines into the skin rather than cutting all the way through. That works well for wrinkles, stitch marks, and cheek shading around the eyes.
Lighting and effects
Lighting changes the entire mood. A single light placed low inside the pumpkin throws shadows upward and makes the face look more aggressive. Two lights placed wider apart can make the eyes glow evenly in big designs. Battery LED lights are simple and reduce heat, which helps the pumpkin last longer. If you use a real candle, keep it in a stable holder and never leave it unattended.
Some of the pumpkins in this gallery use props or effects. Painted interior surfaces can make the openings look like fresh cuts. Small pumpkins can become “food” for a hungry mouth. Added nails, toothpicks, and faux teeth create a layered, three dimensional look that reads as more monstrous than a flat carving.
Make a carved pumpkin last longer
Carved pumpkins dry out and soften quickly because the protective skin is gone. After carving, wipe the cut surfaces to remove loose pulp. If the weather is warm, display the pumpkin only in the evening and keep it in a cool spot during the day. A quick mist of water inside the cavity can slow dehydration, but do not leave standing water sitting in the bottom.
If you carve a few days ahead of Halloween, consider a simpler face with larger openings. Detailed teeth and thin bridges between cuts are the first to sag. A bold silhouette often holds up better through a full weekend of porch nights.
Scary pumpkin faces gallery
Use this gallery as a menu of features. Pick the eyes from one design, the mouth from another, and the prop idea from a third. If you are carving with kids or doing multiple pumpkins for a display, repeat one shape like the eyes across several pumpkins and vary the mouths. The set will look intentional while still giving each lantern its own personality.


Leave a Reply